Today we are going to talk about printing and how to harvest the full power of your photograph. I chose this particular topic now as I just went through a period of prolific print making for our winter art festival season.
There are few thoughts I’d like to share that I think will really help you in making your own photographs stand out. The print is really the culminating piece in any photographers arsenal. How your print looks really defines your work. (Currently, I outsource all my printing to a local company in Scottsdale. so these tips may not be completely applicable for someone who does their own fine art printing).
1) Consider your lighting – How is your print going to be displayed? You may not know this, but keep it in mind. Here are some other relevant questions to think about. Will the print have direct lighting or natural lighting? These are important considerations in determining how bright you want your print. Keep in mind, if it is placed in a dark room, the shadows will look almost completely black, and darkness will dilute and dull the colors of your print. If you are concerned it is not going to show up well because of the lighting, you should enhance your colors a little bit to compensate.
2) Test prints – Don’t learn the hard way like I did, paying good money for prints only to discover weeks later that you really don’t like the finished product. I’ve learned to run each image through a rigorous set of test printing. I am not concerned about the cost, my prints are a reflection of my work and they must look right.
3) Paper – Are your printing on glossy or matte? Perhaps you print on canvas. Each individual printing surface has a slightly different color and each also showcases the colors differently. The sharpness of an image is affected by the kind of paper you are using. Some papers have a yellow tinge that must be accounted for in your editing. Other papers can enhance or slightly dull your colors. Your sharpening levels will be different depending on the size and kind of paper you use to print on as well.
4) Brightness – This is an extension of number one. Make sure you closely monitor the blacks in your shadows. Some printers block up shadows, rendering a darker black with less shadow detail. This is a subtlety that an artist can initially overlook caught up in the moment of enjoying his or her print. Make sure you compare the shadow detail of your physical print to that on your finished electronic file.
5) Clipping – Clipping is the loss of information due to overexposure resulting in a concentrated area of pure white in your photograph. However, clipping can occur during the editing process as well, which is what I describe here. If your print comes out slighty dark and you lighten it, you must be aware very small sections of that image that could potentially clip during this time. This is a process where you must physically scroll over every inch of your photograph to ensure its quality. Be aware that lighter colors tend to clip quicker than darker ones, so if you have an image with snow, water or even light grey rocks, these are parts of the image that can be readily affected.
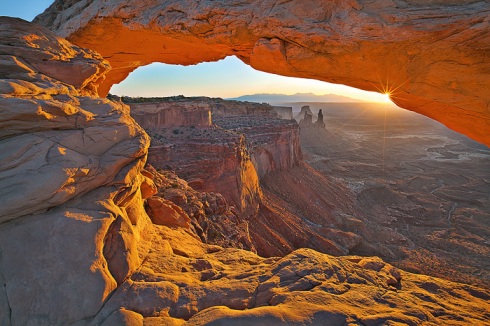
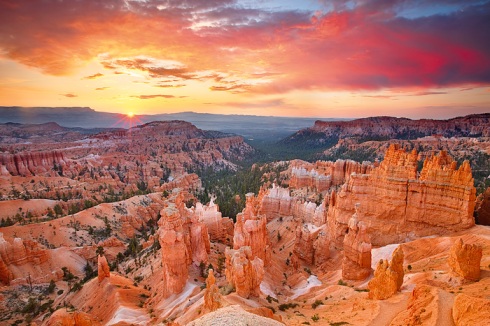
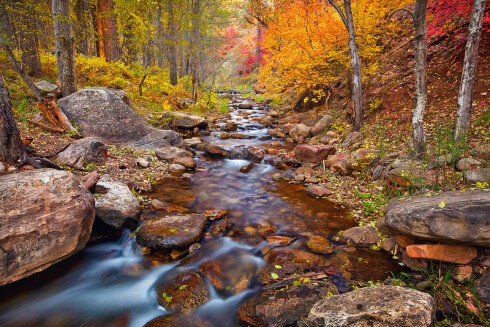
Well, I am wrapping up for now. Hopefully you’ve got something from this and if there is more information that comes to mind I’ll make another post on this subject. For now, I leave you with my best selling prints from this month’s art festivals.


